The description below is for a bag from a single substance. . If you like above several substances to use, you need to cut the pattern from the front at the desired locations Requirements:
1. 50cm cotton (110 cm or 150 cm wide, does not matter)
2. 1 piece of fiberfill of 20 x 40 cm
3. 1 zipper (I've convenience's sake, taken one 30cm)
4. a piece of Velcro 3cm in matching color
5. possibly Vlieseline (I did not use)
Pattern parts:
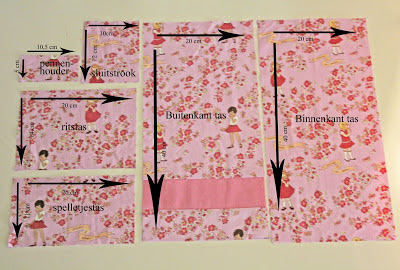
7. Inner and outer bag: a rectangle of 20 x 40 cm (2 x required: 1 x bag for the outside and 1 for inside)
8. Zipped pocket: a rectangle of 20 x 14 cm
9. Pen Holder: a rectangle of 5 x 10.5 cm
10, Bags for games: a rectangle of 20 x 11 cm
11, Close Strip: a rectangle measuring 12 x 10 cm
All templates are included seams.
Cut Schedule:
Method:
1. Cut the fabric as indicated above.
2. Zipper Pouch:
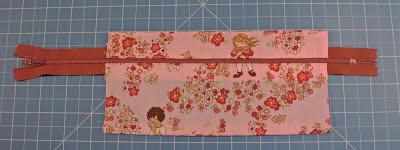
1, Cut the bag by 5 cm from the top edge
2, Work the edge, cutting edges and the bottom with a overlock (the edges do not)
Fold the top and bottom 1 cm inwards and ironing flat
Tuck the cutting edges each 1.5 cm inwards and ironing flat
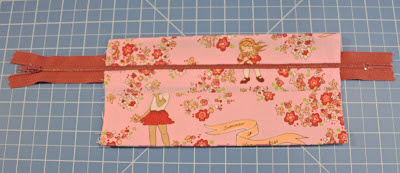
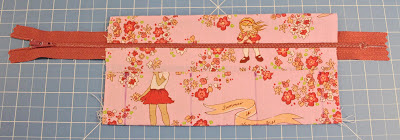
Sew in the zipper
3. Spelletjestas:
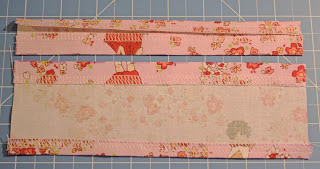
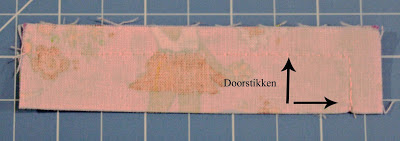
Fold the strip in half lengthwise, iron shelf and stitching on the top narrow side by
Work the bottom with an overlock stitch and fold the edge 1 cm inwards and ironing flat
4. Place the spelletjestas on the zipper bag, right sides together, fold the bottom 1cm seam inside
5. Make the subdivision in the game bag. Stitching the bag to 1.7 cm from the edges vertically and again at 7 cm from both side edges.
6. Sew the pocket on the right side of the back 2.5 cm from the top edge. Cut the ends of the zipper.
7. Pen Holder:
Fold down the long sides and double stitching (one long and one short side)
Turn around
Stitching on the narrow sides by (2 long sides and the short side)
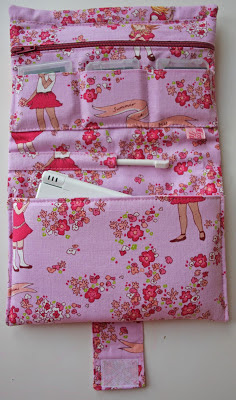
Stitch the pen holder on the right side of the back 15 cm from the top edge to the left
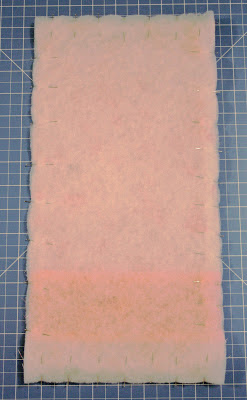
8. Sew the fiberfill firmly on the wrong side of the front
9. Close Small piece:
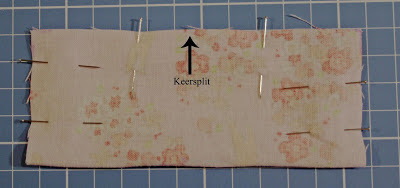
Fold down the bar and double stitching. Late in the middle of the long sides keersplitje.
Turn the loop
Make it keersplitje close
Sew the edges on the narrow side by
Stitching on one end 3 cm Velcro
10. Sew 3cm Velcro on the right side of the front in the middle and 2.5 cm from the bottom edge
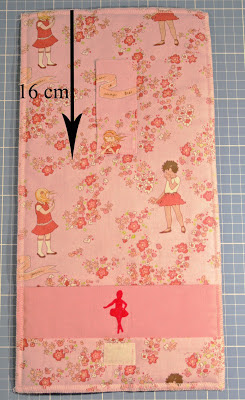
11. Stitch the loop in the middle on the right side of the front and 16 cm from the top edge
12. Sew the front on the back with the right sides together. Leave the bottom open a keersplitje.
13. Cut the corners diagonally.
14. Turn the bag.
15. Close the keersplitje
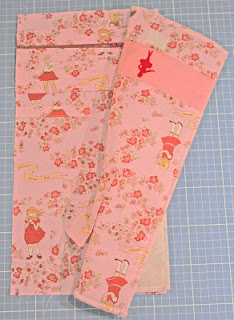
16. Fold the bottom of the bag at 10 cm to the inside and stitch onto the narrow sides.
READY!
Source: mini-a-tuur.blogspot.com









No comments:
Post a Comment